
I’ve been sharing recipes on my blog for years, and I’ll admit I kinda cringe at some of my early work. I’ve learned a ton about taking good photos of my food over the last few years. And I’m far from a professional photographer. This stuff isn’t hard if you keep in mind a few basic principles.
7 Simple Food Photography Tips
And let’s face it, food photography isn’t just for bloggers. We’re all sharing pics of our yummy lunches and sweet desserts on Instagram, right? Below I’m sharing 7 simple food photography tips. You don’t need any special equipment to start using them right away. (And yes, you can do all of this on your phone!)
Use Natural Light
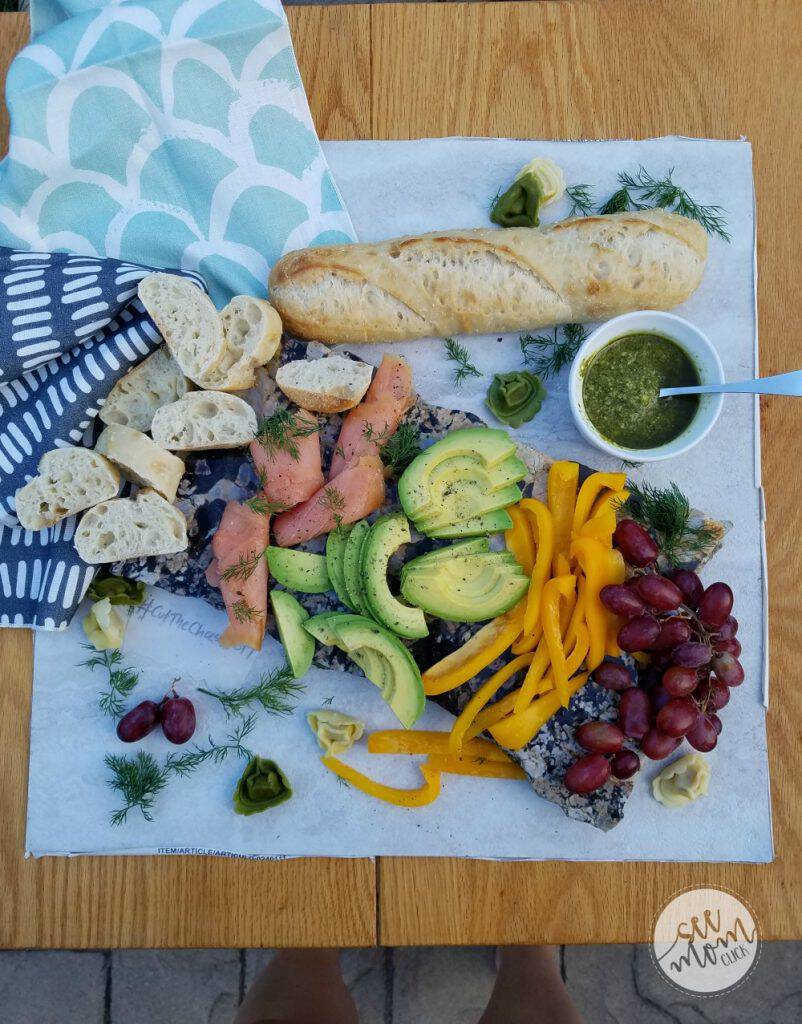
This is my #1 top tip. I try to shoot all of my food photos outside and in the shade. If you shoot in the sun you’ll probably end up with harsh shadows. Find a shady spot (or an overcast day) and use natural light to take your pics. After about 3pm my patio is covered in shade so I take everything out there to get my pics. You can see my legs at the bottom of this pic.
Can’t get your food outside? Try to get close to a window or other source of natural light.
Try Another Angle

Sometimes food looks best shot from above, and being the pretty short person that I am, I’ll get a small step stool or stand on a chair to be able to get that angle.
But don’t be afraid to shoot from the side to show your food in a different way. Take a bunch of pics from different angles and then see which you like best. You might be surprised!
Odd Numbers are Best
When laying out your food, remember that odd numbers of items seem to look best together. In this stack of brownies, I went with 3, not 2 or 4. Keep that in mind when you’re arranging your food. If you have individual items to showcase, go with an odd number on the plate.
Consider Color
Green is my go-to to brighten up a dish. If the colors of the food are a little blah, consider adding some fresh herbs to brighten it up. On the other hand, don’t go too crazy with different colors or you could just make a mess of your shot. Think about how everything looks together, almost like you’re coordinating an outfit.
You’ll want to use a pretty neutral background to create your layout, too. Marble and wood are great choices. And if you don’t have anything like that in your house, you can easily purchase a vinyl background (I got a bunch on Etsy and here are some on Amazon). I love this tutorial from my friend at A Grande Life on creating some really inexpensive, beautiful backgrounds.
Decorate With Ingredients and Props
Without making your scene feel overcrowded and messy, you can fill in empty spaces with simple props. Using ingredients is often a good way to communicate what’s in the food. For example, chocolate chips can be strewn around a plate of cookies. Blueberries can add color and fill in the blanks around a tray of muffins.
You can also add serving utensils like wooden tons, or a pretty napkin. Finding the right balance between filling in that empty space and not jamming too much into the shot is the key. Play around and take a bunch of photos to see what you like best!
Consider Your Crop
I often shoot images either for my blog posts (I use 4×6 for that) or for Instagram (square photos). A lot of times the ‘edges’ of my set up don’t look too pretty, but I don’t worry about that because I know I’m going to crop it. So pay attention to what’s in the background (no one wants to see a messy kitchen, etc) but just keep your crop dimensions in mind. If you’re going to crop out the edges, don’t worry about creating the perfect square scene for Instagram.
And be sure to think ahead to what images you’ll need. For this project, I needed a square shot for Instagram, and a landscape shot for Facebook. Sometimes that means getting different angles to fill different dimensions.
Watch for Scavengers
This is my sorta-joking last tip: If you need time to take your pics before you allow your family to dig in, plan accordingly. Thankfully I got my pics before these two devoured the entire platter. Throw a snack the kids’ way to keep them occupied before you plate this all up.
What other quick and easy food photography tips would you add to my list?
Leave a Reply