![]()
I’ll admit I have a few kitchen appliances shoved in a cupboard that get little to no use. I should really yard sale that Quesadilla maker. So I’m a little leery of bringing new appliances into the house that do nothing but take up valuable space. Having said that, I’ve been toying with the idea of getting a dehydrator for a while now. We grow a pretty big veggie garden in the summer and I’ve been getting fruit really cheap at the farmer’s market each week and would love to capitalize on inexpensive, healthy snacks. I started using the Nesco Gardenmaster Dehydrator a few weeks ago and I am head over heels in love with this thing!
I’m going to tell you all about it and show you some of the goodies I made, but the biggest think I want you to know is how completely simple it is to use. You literally just put your food on the trays, turn it on and walk away. I let it sit in the box for a few days when it first arrive until I worked up the energy to read the directions and get started. Then I realized I was an idiot because there really are no directions and it’s completely foolproof. Honestly, the only prep you need to do to use it is to wash up the trays. Easy peasy.

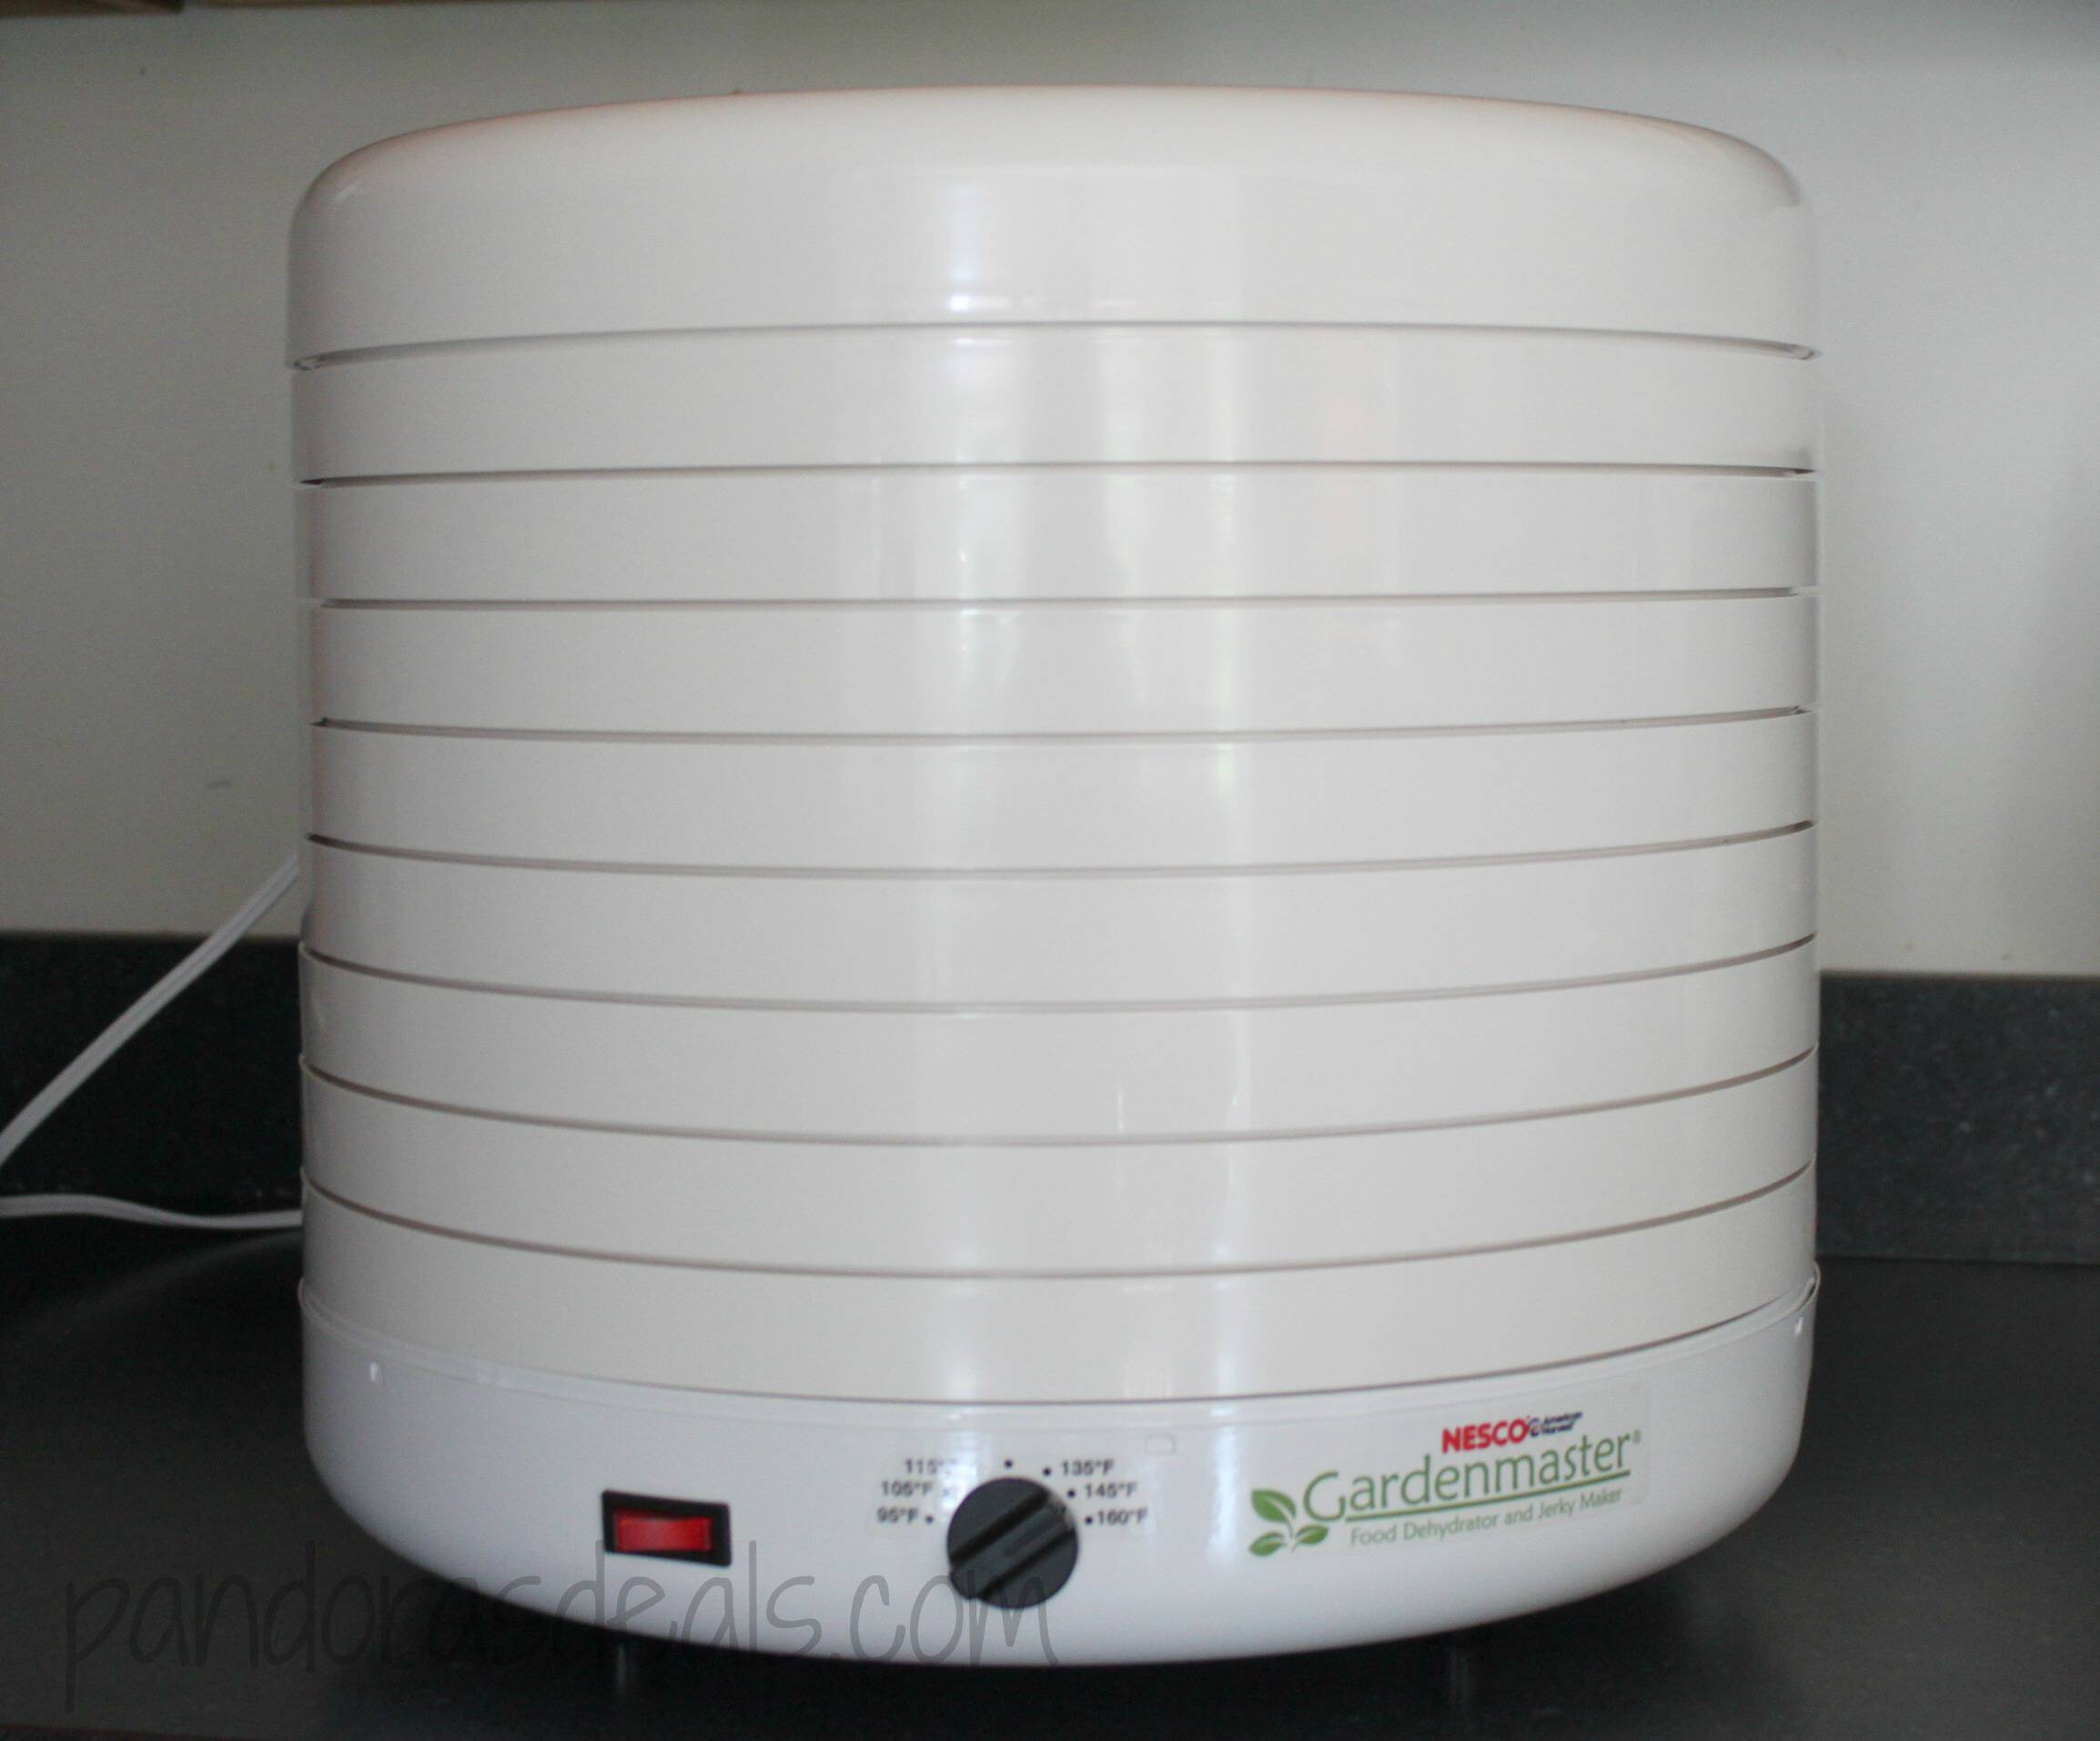
The model that I am using is the Nesco American Harvest FD-1018P 1000 Watt Food Dehydrator Kit. I don’t see this exact one on the Nesco website, but it looks to me like it’s an expanded FD-1010. That is, it has some more trays that come with it and from what I can see the two are pretty much the same. The kit I have came with 8 stackable trays. You can add more to that if you want to (up to 30!) or use fewer, only as many as you need. The most I needed for my little projects was 3 but I can definitely see that increasing this summer when I want to preserve more fruit and veggies while they’re in season and cheap.
There are a couple of instructional books that come with the set to get you started. Really all I needed to read out of there was the temperature settings for each food I was drying. Using the dehydrator is so intuitive and simple. So the first thing I made were three trays of dried fruit! I was so excited to try this. I had some plums, apples, and kiwi on hand so I sliced them up, trying to keep them as uniform in size as I could, and laid them on the trays. I used one tray for each type of fruit but you really don’t need to. Fruit dries at 135 degrees, so I just stacked my trays, set the temp, turned it on and walked away. My fruit was dry in about 5 hours. If you find that one tray is done before another, just pull that tray out. It sounds like your bathroom fan or a hairdryer blowing in the background while it’s on. It’s not so loud that it’s annoying by any means, but it’s not silent either.
I put all my newly dried fruit in a bowl and took it outside to my kids and husband and it was GONE in about 5 minutes! So there’s my next big tip: make a lot! Whatever you make goes fast (trust me on this one) and though it is not even a little bit hard to use the dehydrator, it is a waiting game so you have to plan ahead. Don’t start a batch of dried fruit at bedtime or you’ll be checking trays in the middle of the night. This fruit was delicious. The drying process really concentrates the sweetness and the flavor. Tasted almost as good as candy and was obviously waaaay healthier!
The next thing I made were my own fruit rolls. I can’t tell you how excited I was to try this and it was SO darn easy! I only made two trays for my first run. My first tray was strawberry rolls, which I made by taking a 16oz. container of strawberries, washed and stems removed, and liquefying it in a blender. I had to add a splash (really, only maybe 1/8 cup) of 100% fruit juice just to get it going, but otherwise there were only strawberries in there. The other tray I made was apple rolls. And this could not have been easier: I bought natural applesauce at the grocery store and poured it onto the tray. Yup, that’s it. I should mention that I wiped a little vegetable oil on the trays before pouring the fruit on them just to prevent sticking.
My fruit rolls dried at 130 degrees for about 5 hours. I was able to just peel them right off the trays and then I used a pizza cutter to make little triangles. They went so fast I didn’t try to wrap them all, but next time when I make a lot more I’ll roll each one in a small piece of wax paper and then stick them in an airtight container. These were such a big hit with the kids. I even found my husband munching on them after the kids went to bed!
But nothing was as big of a hit with my husband as the beef jerky we made. He actually said to me that we should never make it again because he can’t stay away from it. I think that means he liked it. 😀 Just like everything else we made with our Nesco Dehydrator this was very simple. I bought a steak, trimmed the fat, cut it into thin strips, marinated it overnight, and then put it on the trays to dry. Jerky dries at 160 degrees and ours was done after about 7 hours. And it really was SO good! Nesco makes a great cure that you can buy, or you can just marinate it in teriyaki sauce. We did some of each. I was only able to get this picture of three strips that were left after my family devoured the rest like a pack of wolves.
There are so many more uses for the Nesco Gardenmaster Dehydrator that I look forward to trying out in the coming months. We grow tons of herbs in our garden and I am going to dry and bottle them for uses in recipes year-round. You know how expensive it is to buy a jar of dried herbs at the grocery store? It’s so much cheaper, and healthier, to grow your own. I also read in the recipe book that you can dry tomatoes and then rehydrate them to make tomato paste, and one of my friends gave me the brilliant idea to make my own onion soup mix (I use it in pot roasts and dips) instead of buying the pre-packaged stuff. I’m so excited to try all of these things!
If you’re on the fence about adding a dehydrator to your supply of kitchen appliances, I’m here to push you over. I absolutely LOVE this thing and despite the fact that it’s kind of big, it hasn’t moved from my kitchen counter yet because I keep using it! I do recommend getting a bigger model if you buy one. I love this one that I have because I don’t think I’ll ever need to buy additional trays. It comes with 8 stackable trays, and then 8 fruit roll trays and 8 Clean a Screen trays (which have smaller holes in them so they’re good for drying things like herbs or flowers – yup, you can do crafts with this guy, too!). Like I mentioned above, this stuff goes fast once it’s made so I recommend loading up those trays and making a lot when you do it. I think having 8 trays to work with is plenty for me, but I can see myself wishing I had more if I had a smaller unit.
This is the easiest way I’ve found to make healthy, wholesome, and really inexpensive snacks for my family. And they’re perfect for on-the-go since anything dried isn’t going to be messy. Head over to the Nesco website and check out their selection of dehydrators. The exact model that I have can be found on Amazon. Follow Nesco on Facebook to be the first to hear about their latest products and promotions!
I’d love to hear what you make with your dehydrator this summer!
I was provided with a Nesco Dehydrator to facilitate this review. The opinions in this post are 100% mine. You can read my full disclosure policy here.
Allison Lane says
Your fruit looks amazing. I have been looking at these and been hesitant. I don’t want it go be used once but your post makes me think it would be a great investment.
Lindsay says
I was on the fence too but I’m so glad I got the chance to use one myself. It really is awesome. There are TONS of uses for it and it’s so easy to use!
Tamara says
The dried kiwi looks so good. I want to try this!
DeDee LaFrance says
I would make all different kinds of dried fruits.
Carolyn says
I would love to use this to make kale chips!!! Thank you 🙂
carol roberts says
love to make some banana chips or jerky
ronda says
herbs, fruits, beef, chicken, flowers… I’ve been looking into food dehydrators for awhile .. it would be awesome to win one!
Amanda says
I would make banana chips, as all my kids and I love them.
Jodi Randall says
My husband and I are planning to hike the PCT when we finish college and have been thinking about getting a dehydrator to make meals/snacks for the trip. This is actually one of the models we have been considering!
jamie dundon says
I would love to try to make the fruit rolls. They look yummy.
Brian says
The fruit leathers look tasty and so healthy
Tracey Concannon says
Wow! This was an informative post, I can’t believe how EASY! If I had this, I think the first thing I would make is dried fruit, a mix, to see what tasted best! THEN, I think I’d have to look into sweet potatoes, because if I can make my own healthy chips? Look Out! 🙂
Susan says
I have a similar model which I love. I have had trouble making fruit rollups. I’m wondering if I have too high a temperature and/or too long. I’ve tried different thicknesses but it doesn’t seem to matter, they end up cracked like the desert floor and so thin you can hardly get them off the plastic. I had it at 135-140 and not sure how long. Any ideas?
Lindsay says
Oh that stinks! Sounds like maybe you have them in too long but I can’t be sure. Did you wipe the trays with oil before you pour the fruit on them? Try turning the temp down a bit too. I cooked mine at 130 degrees for about 5 hours and I checked them once in a while too. Once they look done take them off. Good luck! I hope that helps!
Susan says
Thanks Lindsay! I’ll try that next time. I was so disappointed. I had yogurt and graham cracker crumbs & a little DaVinci Carmel syrup—it smelled sooo good 🙂
Lindsay says
Good luck! Let me know how it comes out. That sounds yummy! 😀