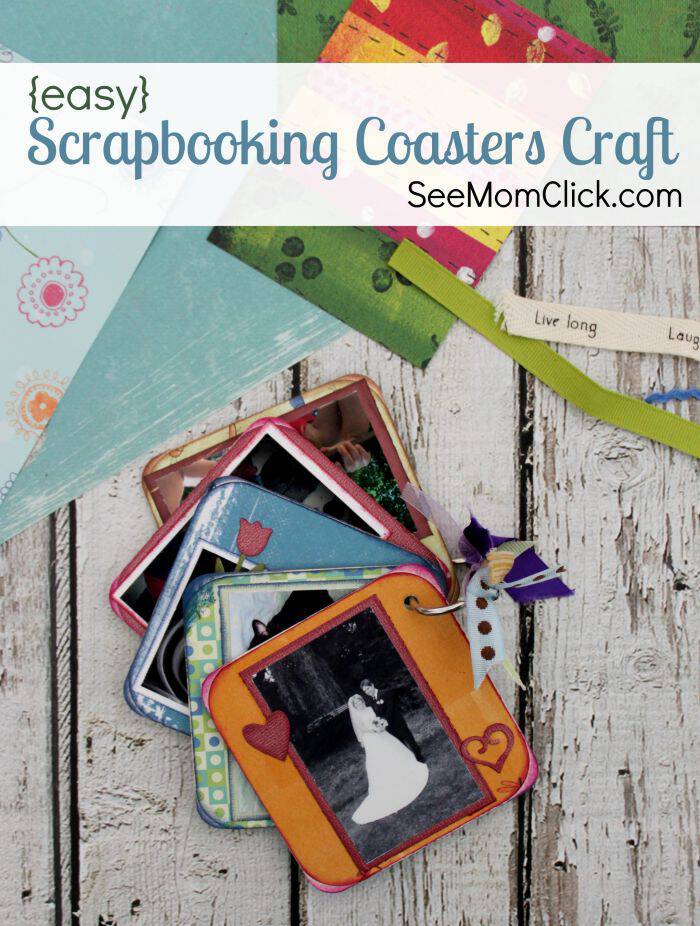
I used to have more time to scrapbook and loved all the little paper projects I made. Now with two active kids it’s just hard to find the time and space to put entire books together. Smaller projects are right up my alley and this one is a favorite of mine. This Easy Scrapbooking Coasters Craft is really quite simple to make even if you’re not an experienced paper crafter. It’s a fun way to scale down a scrapbooking project into a sweet keepsake that’s not too time consuming. Yup, right up my alley. 😉 Here are my instructions. Remember part of the fun of crafting is making it your own, so tweak it however you’d like to. Have fun!
Easy Scrapbooking Coasters Craft
Supplies
- Cardboard coasters
- Hole punch
- Metal hinged O-ring
- Scrapbooking paper or cardstock
- Corner punch
- Ink pads
- Stickers or die cuts
- Tacky Glue
- Scrapbooking ribbon (cloth ribbon)
- Your own photos, sized or cut to fit on the coasters
Instructions:
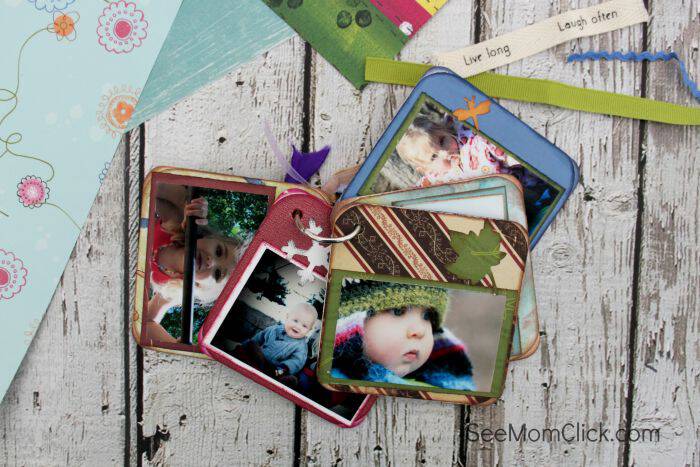
- Cut your cardstock or scrapbooking paper to the size of the coaster. My coasters are 4″x4″ so I cut 4″ squares for each side of my coasters. NOTE: I used 5 coasters on my project. More than that wouldn’t have spun around the O-ring very well, so keep that in mind when you’re planning. The bigger the ring, the more you coasters you can have. They’re double sided of course, so 5 coasters gave me 10 great pics!
- Use the corner punch to round off the corners on all of the paper squares you have.
- Swipe the ink pads, your choice of color but pick something that matches or compliments the paper color (I use this creamy brown a lot), along the edges of your paper squares. Just hold the paper in one hand and use a downward sweeping motion to swipe the ink pad along the edges all the way around. Look closely at my pictures and you’ll see this effect along the edges.
- Using the tacky glue, attach the paper squares to your coasters and allow to dry.
- Punch holes in your coasters to make a place for the O-ring to hold them together. On just one coaster, measure in about 1/2″ from the top and 1/2″ from the side and punch a hole. You can measure every coaster the same way, or just do one and then place it on top of the others, use a pencil to make a little dot, and punch your hole over that dot.
- Swipe the ink pads along the edge of the coasters just as you did for the paper squares above. Try to cover any white parts of the coaster left showing.

- Now you can decorate your coasters! Attach pictures (I like to frame them with cardstock and ink the edges of that too – don’t ink the pictures themselves) and embellish however you’d like with stickers or paper die cuts. You don’t need a die cutting machine to add some flair to your project. If you have one, great! If not, you can easily purchase an assortment of paper die cuts or stickers at your local craft store.
- Once you have all sides of your coasters decorated with pictures and embellishments, line up those holes you punched in the corners and slip the O-ring through and close it.
- If you’d like to fancy it up, tie a few mismatched pretty ribbons on the ring for fun!
Leave a Reply